Lenus Health Developer Portal
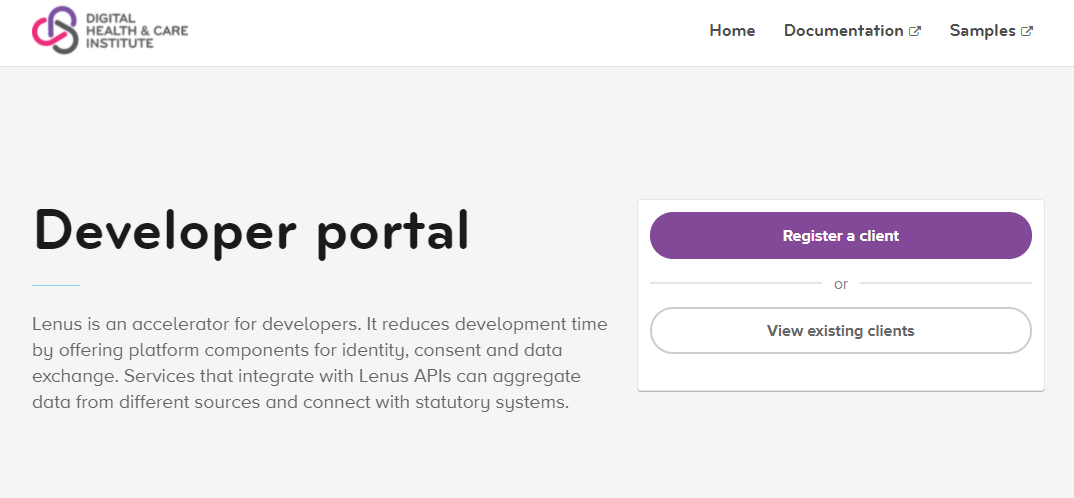
The Lenus Health Developer Portal is a place for developers to create and manage their client applications used to authenticate and communicate with our platform. As our platform’s authentication is based on OpenIdConnect and OAuth2.0 client applications will need to be created that define parameters needed to authorise and retrieve access_tokens for use with the platform.
Accessing the Developer Portal
In order to access our developer portal you will need a Lenus account, you can register an account with your email address by visiting our sandbox environment. Once you have created an account you will need to get in touch with our support team to start the configuration process.

From the developer portal you can visit this documentation or review our integration samples on GitHub.
Your Developer Account
In order to use the developer portal your account will need to be associated with a developer tenancy created by our support team, once your account is associated with a developer tenancy you will be able to create and manage client applications. Your developer tenancy is designed to allow multiple users to collectively create and manage client applications for your organisation or service.
Your developer tenancy is represented by a prefix value that is automatically pre-pended to each client application you create, for example if your developer tenancy was healthorg and you created a client with an id of myapp your full client_id used for authentication will be: healthorg.myapp.
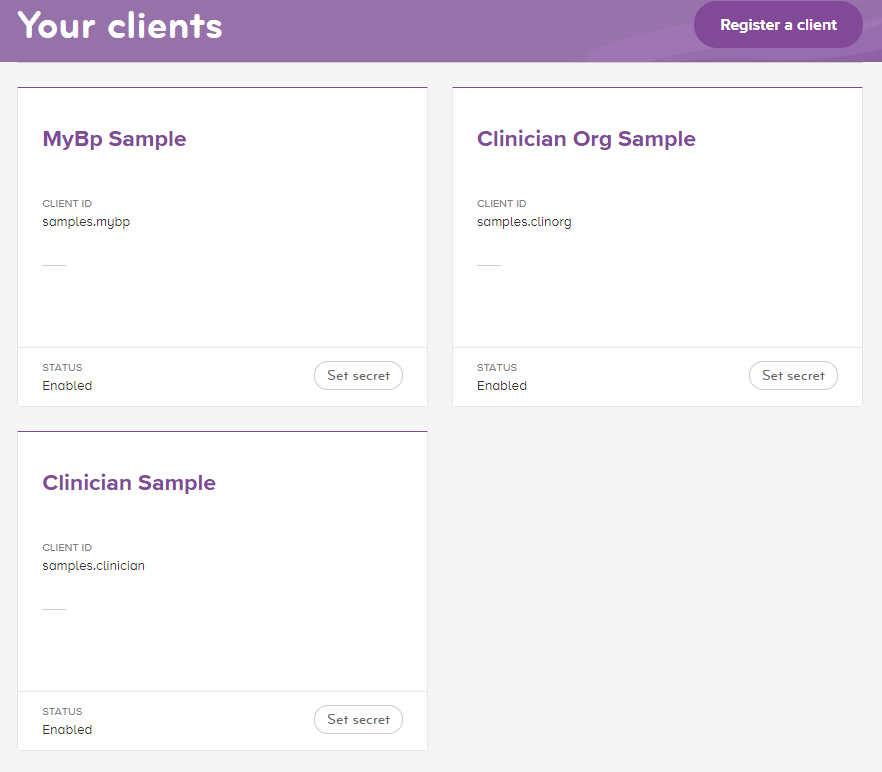
When you login to the developer portal you will see a list of existing client applications for your current developer tenancy, i.e.

Register a new client application
Registering a new client application requires specific details for the service intended to use it. A service can have multiple clients. To register a new client you will need:
| Field | Description |
|---|---|
| Client Id | This is a machine friendly value used to identify the client, this value will see your developer tenancy value prefixed <devtenancy>.<id> |
| Client Name | A human friendly name of the client application, this may be the name of your service e.g. “Blood Pressure Service” |
| Client Uri | This will be the primary URI of the application using this client, it needs to be an absolute URI and will be used as part of specific programmatic redirection flows between the identity service and your application. e.g. during an agency consent workflow. |
| Enabled | Allows you to disable your client if required |
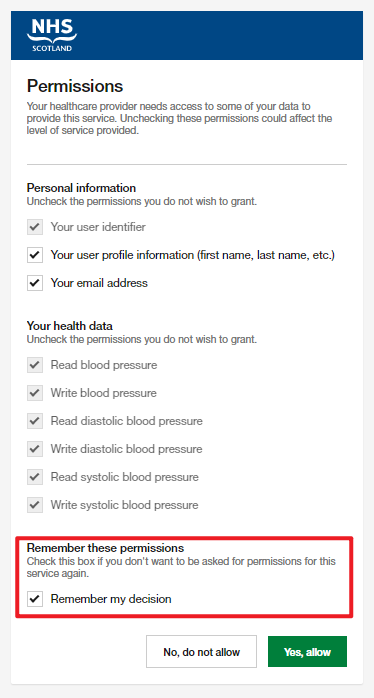
| Allow Remember Consent | This flag controls whether the authenticating user can have their consent choice for the application remembered for subsequent login’s, this is referred to as a persisted grant and is not related to agency consent.  |
| Redirect Uri | You can specify multiple redirect Uri’s (also referred to as Reply Uri), please refer to standard OAuth2.0 specification and your service authentication language for the correct value to use. |
| Post Logout Redirect Uri | This is a Uri to which the user is redirected after a logout has been performed and can be optionally set as needed |
| Grant Type | The grant type/s needed for your client application are specific to your implementation, will currently support hybrid, authorization code, implicit and client_credentials. We recommend against using the implicit grant type as this is deprecated in the OAuth2.1 specification and we also plan to stop support for this grant type in the near future. client_credentials are only intended to be used when calling the agency API. Please note that some grant type combinations are not supported, such as authorization_code + hybrid. |
Choosing user and data scopes
Your client application will need to be configured to request one or more scopes that allow access to specific operations or the ability to query specific health data. Once authenticated your tokens (id_token and access_token) will contain verified scopes and claims including:
sub- A unique identifier for the individual within the identity service, this can be used to identify a user and correlate them to data held in your application (a sub claim is not supplied when using aclient_credentialgrant type).role- 0 or more role claims may exist for the individual, roles will be any of:PatientorAgent(roleclaims is not supplied when using aclient_credentialgrant type)
Other claims will be dependent on the scopes requested during authentication and configured within your client application. The scopes your client will need will depend on the purpose the application serves (patient or clinician focussed).
Key to the creation of a client application is selecting the correct scopes that grant access to APIs and data types within the platform.
Each basic scope provides access to additional user information such as name or email address, or allows your client application to call specific APIs. number of the scopes are considered standard and are used according to the OAuth2.0 standard, custom scopes are detailed below:
| Basic Scope | Purpose |
|---|---|
agency_api | If you are implementing a clinician centric application and intend on requesting or accessing data owned by other patients you will need this scope, with this scope you can access the agency API |
Health data scopes can be selectively included if the client application needs to directly query these health data types for the authenticated user, these scopes are not required for a clinician centric application querying data through agency
View client application summary
Selecting an existing client application will present a summary view of the client application configuration, including the machine names of each selected scope, these are the values you will need to set when implementing your service and integrating authentication.
Updating an existing client application
Existing client applications can be updated if configuration values need to be added or changed. Please note that it is not possible to change the Id value assigned to a client or move a client application between developer tenancies.
Set a client secret
When you initially create your client application it will be created with a random client secret. You can update this value to a secure value that you will need to store as it can not be provided back to you once set.
Testing your client application
The identity service exposes an OpenIdConnect discovery documentation, accessible at /.well-known/openid-configuration of the platform environment you are connecting to. This document contains details of all required endpoints needed to authenticate with the service as well as the available claims and scopes.
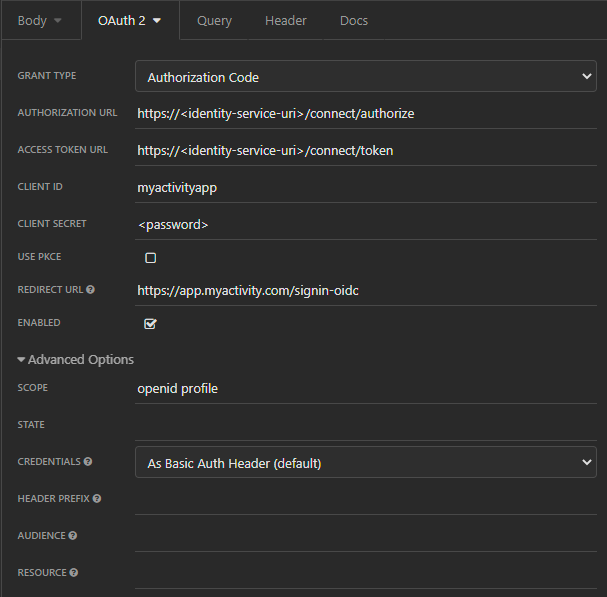
Here is a screenshot example from Insomnia showing an authorization_code flow.
